

Fender Flares & Trim for Exterior Protection
Compare fender flares and trim by vehicle fitment, coverage, material, finish, and installation method. Check the listed specifications carefully before selecting exterior accessories.
8 products in catalog
8 results
Filters
Availability
Price

Performance Tool
Performance Tool W80583 Fender Cover with Foam Packing and Tool Pockets to Protect Vehicle During Maintenance, 33-Inch x 24-Inch
See current price
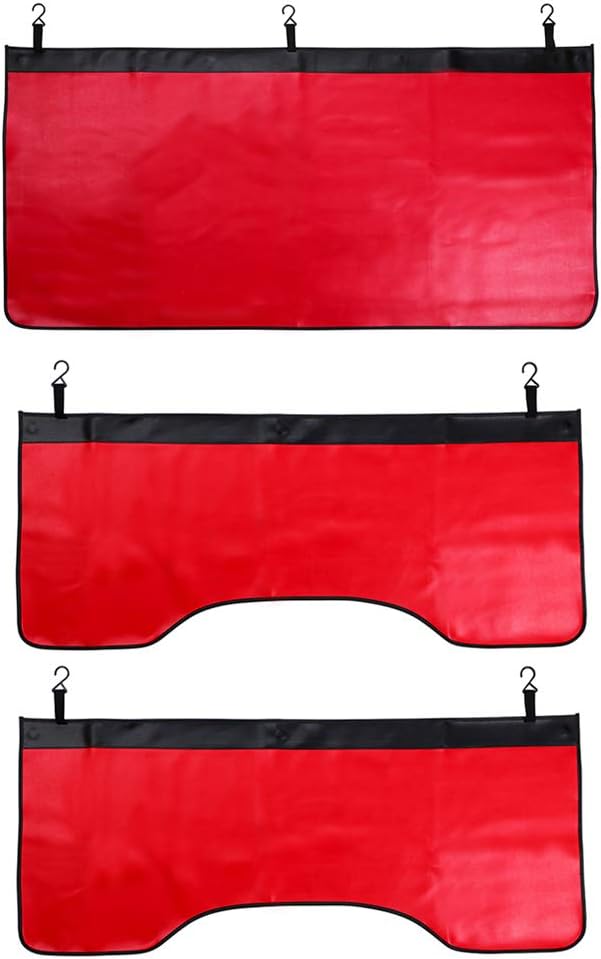


TRUE LINE Automotive
TRUE LINE Automotive Inner Reflective Black Carbon Fiber Wheel Well Fender Door Bumper Trim Molding (Red)
See current price


Popular brands in Fender Flares & Trim
Fender flares and trim can change a vehicle’s exterior appearance while helping define the edge around the wheel opening. The right choice depends less on appearance alone and more on precise fitment, the amount of coverage needed, and how the part is designed to attach.
This K-Catalog category brings together options for shoppers comparing exterior details and specifications. Review the product information for your vehicle before clicking through to Amazon to check the current listing and availability.
How to choose fender flares and trim
Start with vehicle compatibility. Check the listed make, model, model year, body style, cab or bed configuration, and whether the part is intended for the front, rear, or a complete set. Even vehicles that look similar can have different wheel-opening shapes or mounting points.
Next, consider the purpose of the part:
- Coverage: A wider flare may suit vehicles with more pronounced wheel offset or a need to cover the outer edge near the tire.
- Appearance: Choose between a subtle trim treatment and a more prominent, rugged-looking flare profile.
- Protection: A part that extends beyond the wheel opening may help direct attention away from exposed edges, but it should not be treated as a substitute for proper tire fitment or safe installation.
- Installation: Compare products that use existing mounting points with options that may require drilling, trimming, adhesive, or other hardware.
Types and design details to compare
Fender flares generally vary in how far they extend from the body and how closely they follow the original wheel arch. Some are intended to create a more noticeable exterior profile, while trim pieces may provide a narrower finishing detail around an edge or body seam.
Look closely at the product description and included-part information. Confirm whether the listing is for one piece, an axle pair, a side, or a full vehicle set. Also check whether mounting hardware, templates, clips, or installation materials are included. These details affect both the installation plan and the final appearance.
Key specifications and features
Material and finish are important comparison points. A textured finish can create a more utilitarian look and may be selected to coordinate with other exterior components. A smooth or painted-ready surface may be more suitable when matching the vehicle’s existing finish is a priority. The listing should clarify whether the surface is intended to remain as supplied or to be painted.
Compare these specifications before making a choice:
- Vehicle fitment and wheel-opening location
- Overall dimensions, flare width, and edge shape
- Material information and surface finish
- Color or paint-ready status
- Mounting method and included hardware
- Whether trimming, drilling, or modification is required
- Left/right orientation and the number of pieces supplied
- Care instructions and any stated limitations
Pay attention to measurements rather than relying only on photographs. Product images can make similar profiles look interchangeable even when the attachment points or dimensions differ.
Brands represented in this catalog
The catalog includes fender flares and trim from LST, Performance Tool, TRUE LINE Automotive, Putco, Joiify, Rupse, Detailer's Helper, and OwnMy. These brands are represented in the category for shoppers who want to compare available specifications, construction details, and installation approaches across different listings. Brand presence is not a substitute for checking vehicle fitment and the complete product description.
Installation and care considerations
Before installation, compare the product instructions with the vehicle’s wheel-arch shape and existing trim. Clean the mounting area, test-fit the part where possible, and identify any clips, fasteners, or adhesive required. If drilling or trimming is specified, measure carefully and protect the surrounding paint and bodywork.
After installation, check that the flare or trim sits evenly and does not interfere with the tire, steering movement, suspension travel, doors, or other body components. Recheck fasteners after initial use if the instructions call for it. Wash the part with products suitable for its material and finish, and avoid care methods that could scratch textured or coated surfaces.
For related exterior upgrades, browse Exterior Accessories. Shoppers working on a truck may also compare Truck Bed & Tailgate Accessories and Cargo Management. Other nearby categories include Deflectors & Shields, Towing Products & Winches, License Plate Covers & Frames, and Bumper Stickers, Decals & Magnets.
Frequently asked questions
Do fender flares fit any vehicle?
No. Fender flares are shaped for specific wheel openings and body configurations. Confirm the listed make, model, year, body style, and mounting details before choosing one.
Are fender flares sold individually or as sets?
Either is possible. Check the listing to see whether it includes one side, a pair, an axle set, or enough pieces for the entire vehicle.
Do fender flares always require drilling?
Not always. Installation methods vary by product and vehicle. Review the instructions and hardware details to determine whether drilling, trimming, clips, fasteners, or adhesive are required.
Can fender trim be painted?
Some products may be paint-ready, while others are intended to be used with their supplied finish. Check the product specifications before planning a color match.
What should be checked after installation?
Confirm that the part is secure, evenly aligned, and clear of the tire, steering, suspension, doors, and other moving or adjacent components. Follow the manufacturer’s installation and care guidance.