
Amazon Basics
Amazon Basics 2-Pack XLR Microphone Cable for Speaker or PA System, All Copper Conductors, 6MM PVC Jacket, 6 Foot, Black
See current price

Compare stage and studio cables by connector type, construction, shielding, length, and compatibility. Find options for microphones, instruments, mixers, speakers, and recording equipment.
703 products in catalog
703 results
Amazon Basics
See current price


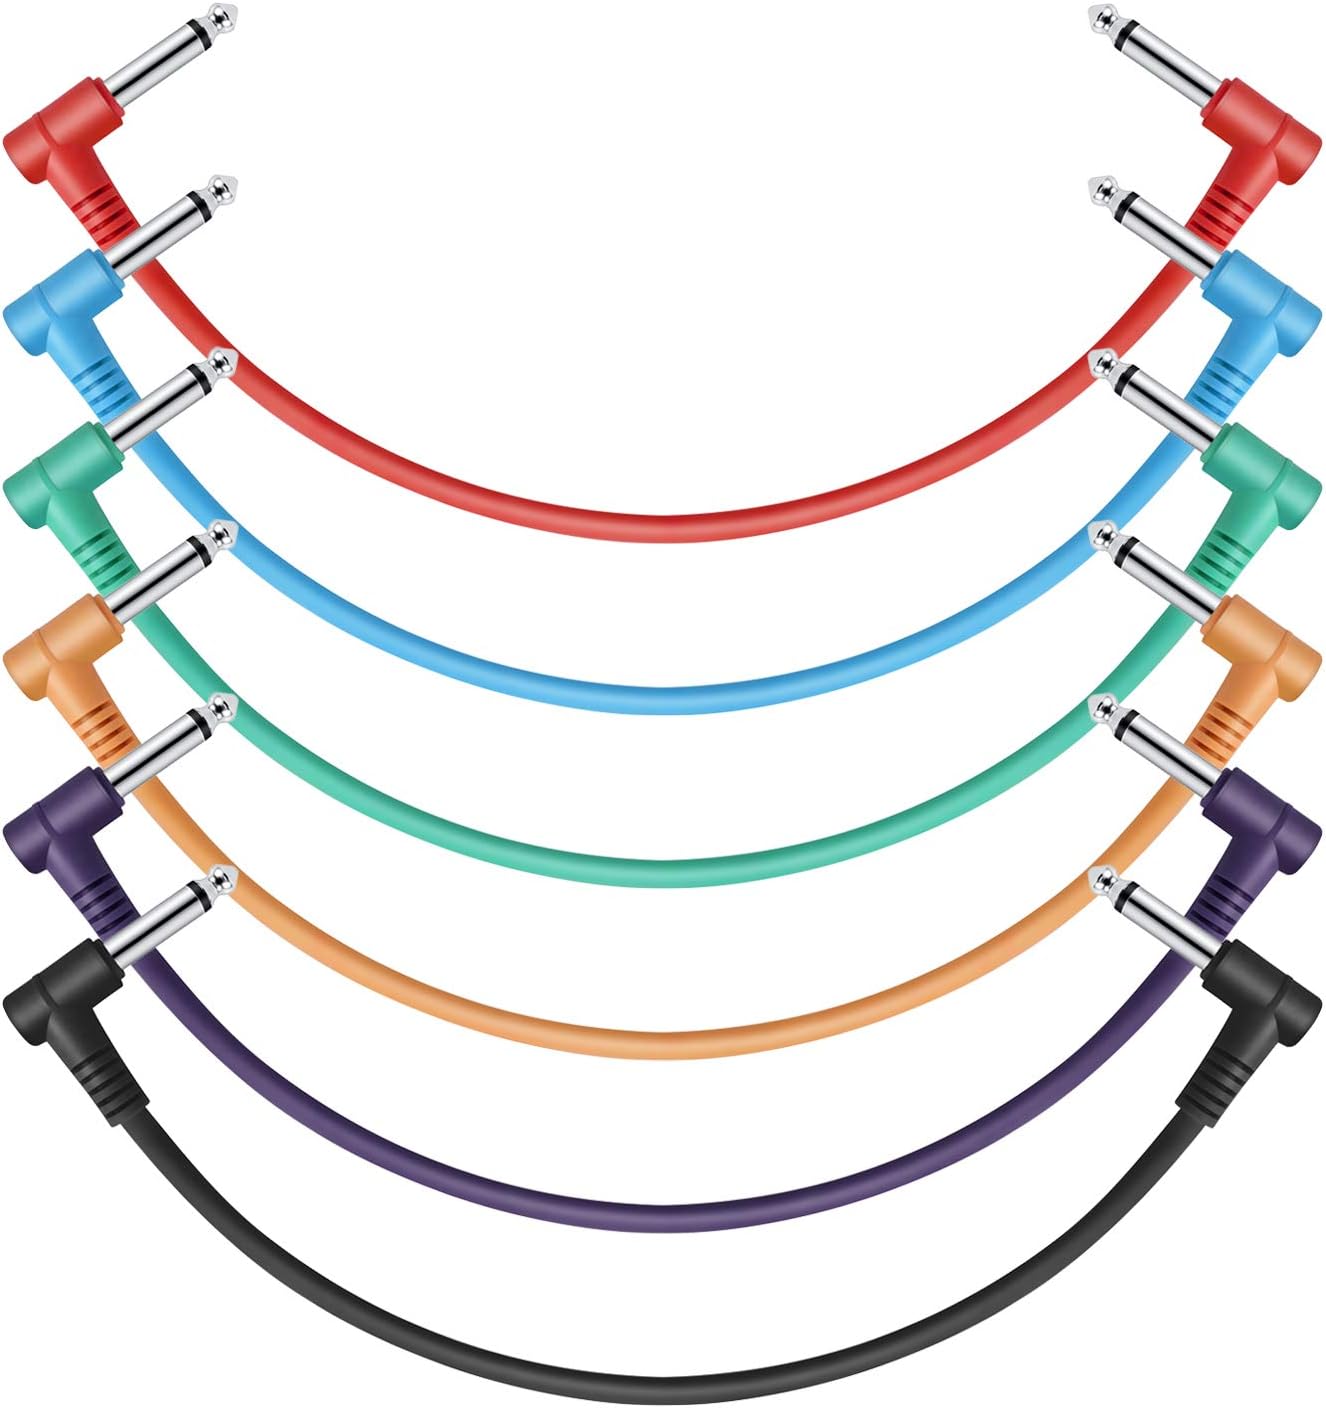


Ernie Ball
See current price


Cable Matters
See current price


Amazon Basics
See current price


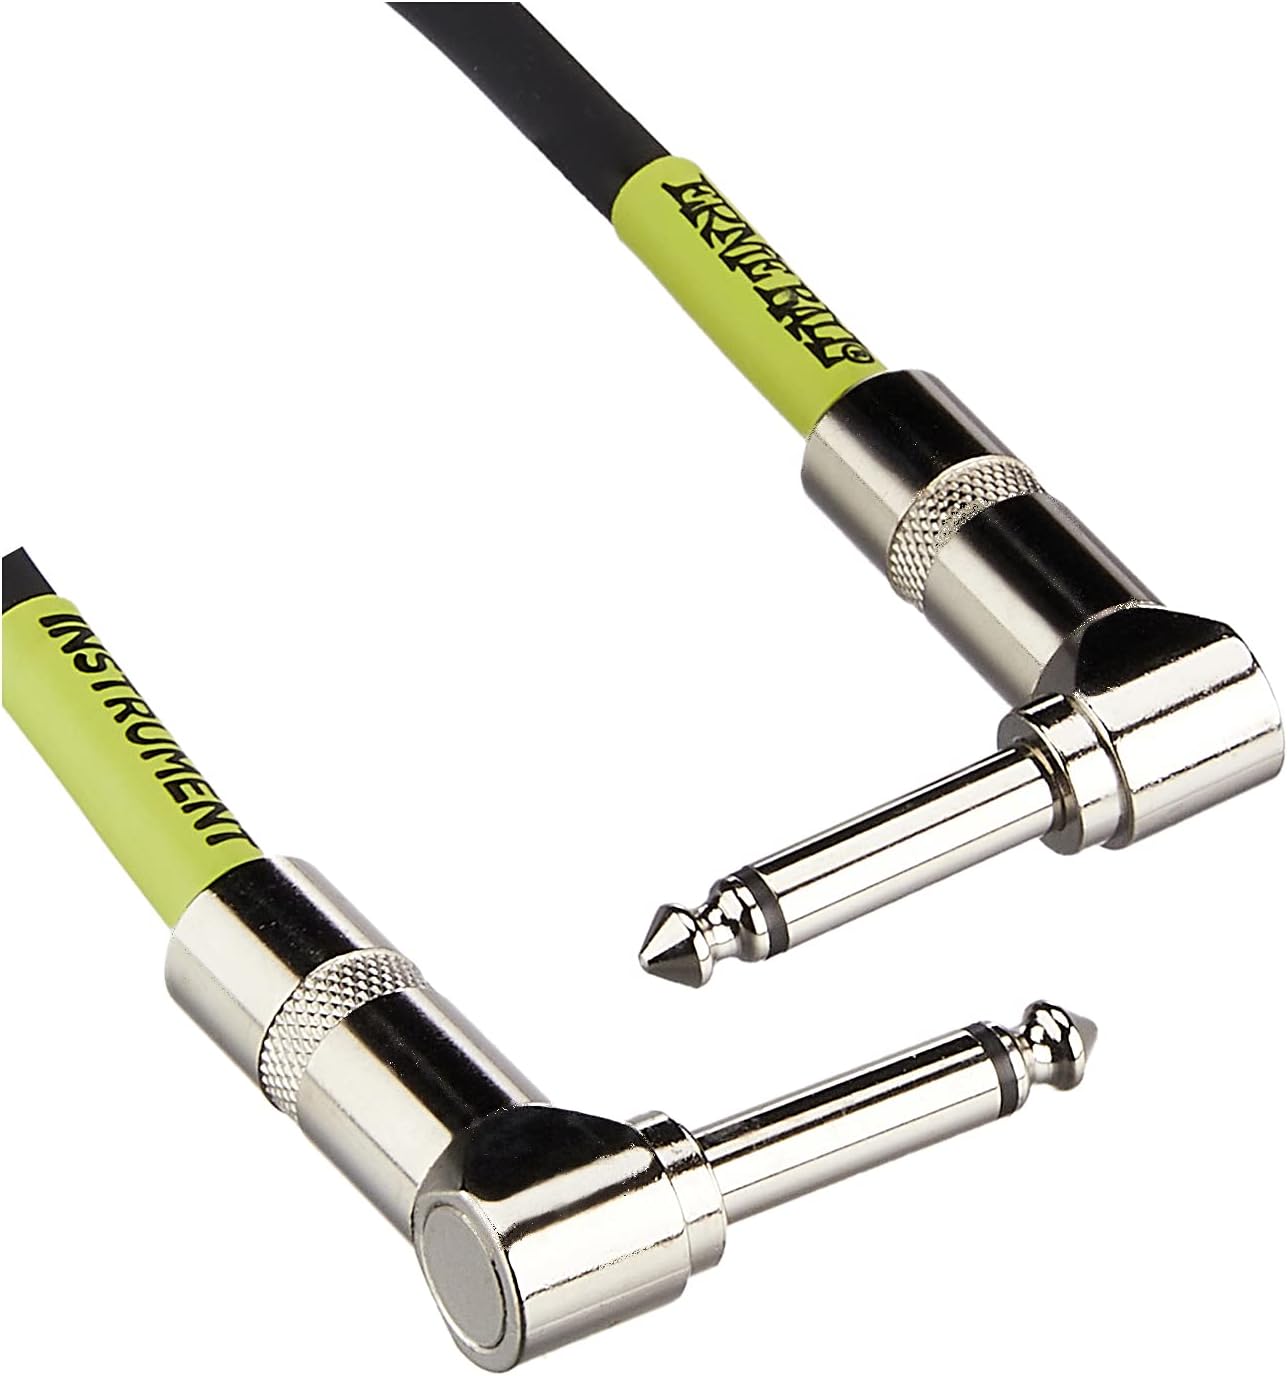


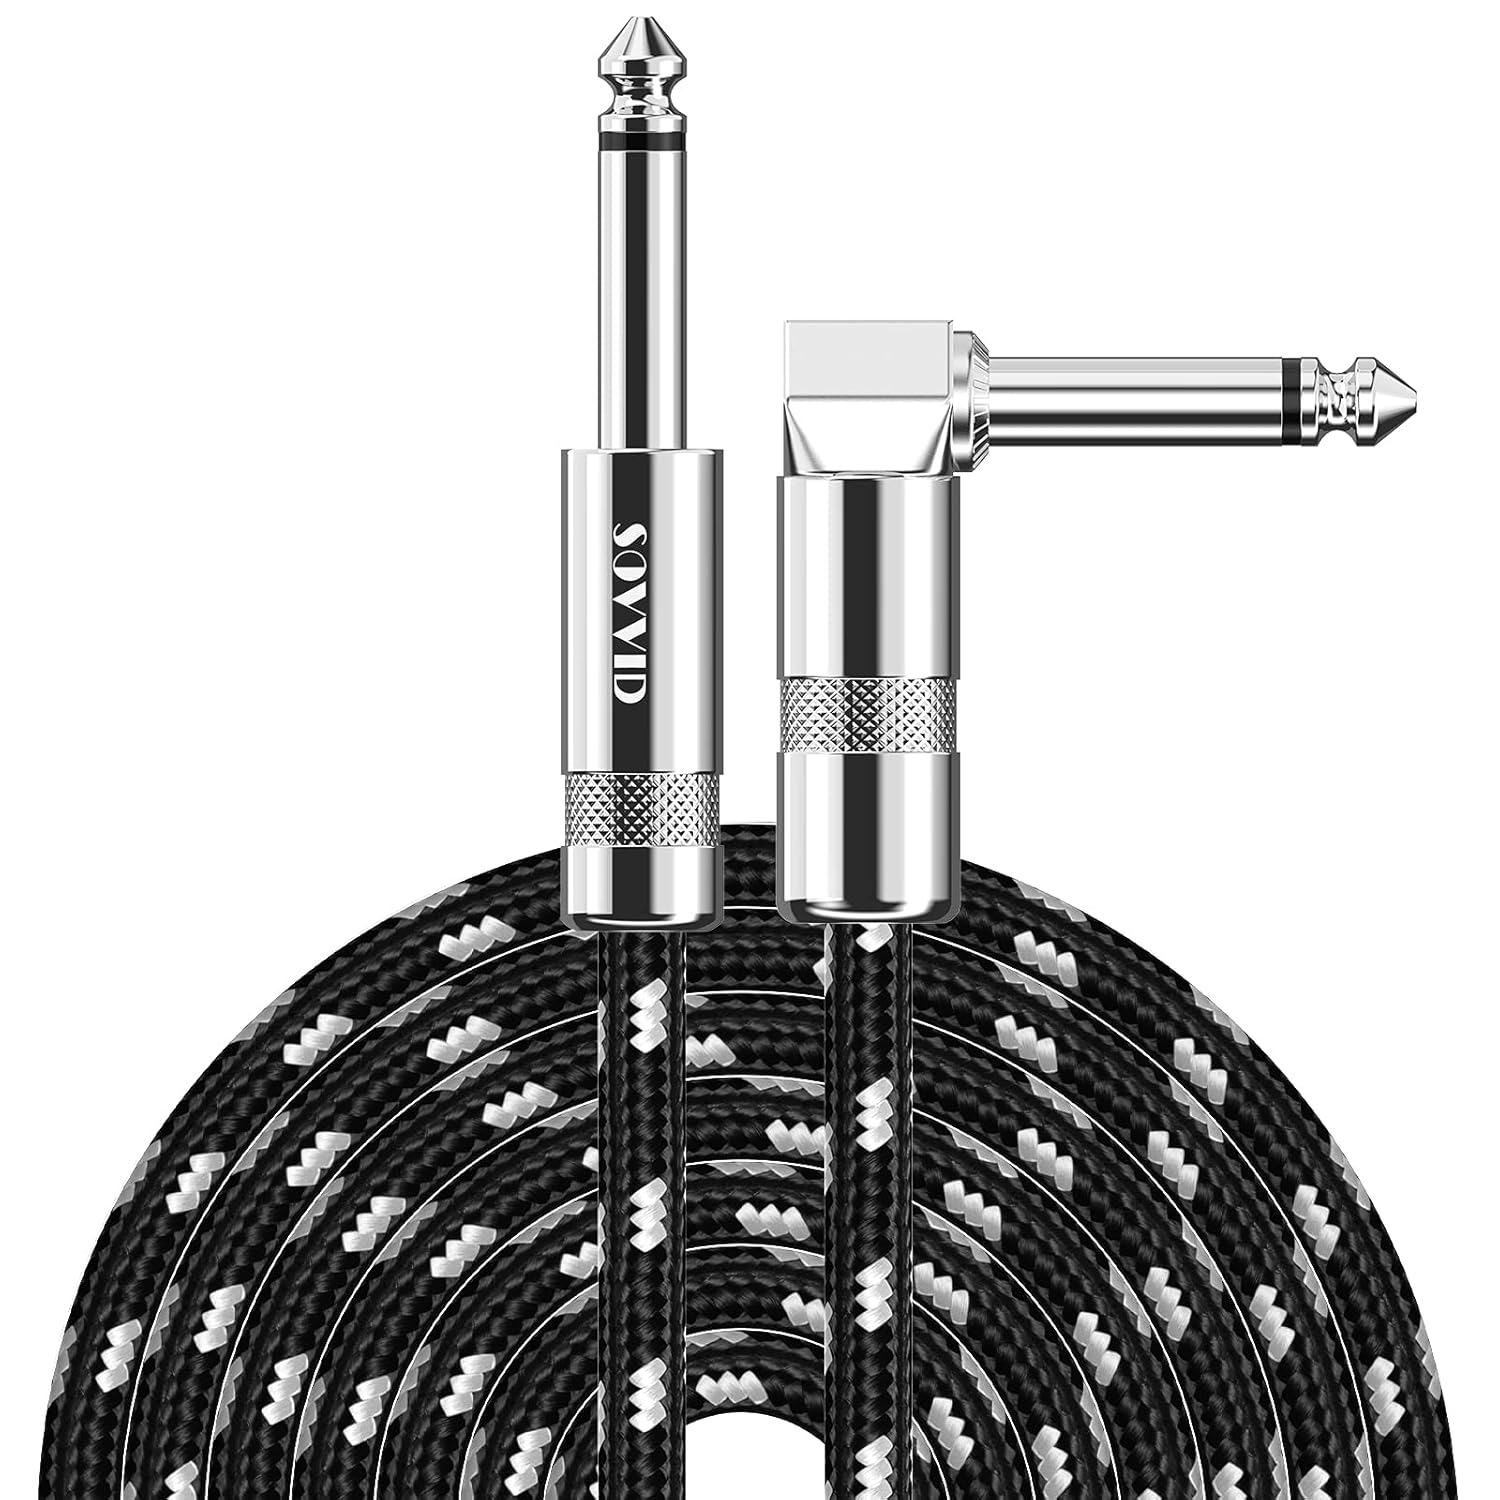

Stage and studio cables connect the parts of an audio system, but the right choice depends on more than cable length. Connector style, signal type, shielding, flexibility, and construction all affect whether a cable suits a rehearsal space, recording setup, live stage, or installed system.
This K-Catalog selection is part of Live Sound & Stage. Use it to compare specifications and features before checking the current product details on Amazon.
Start by identifying the equipment at both ends of the connection. A microphone, electric instrument, mixer, powered speaker, amplifier, and recording interface may use different connector formats or require different cable designs.
Consider these factors:
Microphone cables are commonly used between microphones, mixers, preamps, audio interfaces, and other balanced audio equipment. XLR connections are widely associated with this type of application. Look for the appropriate male or female connector arrangement and confirm whether the equipment requires a standard microphone cable or another balanced format.
Instrument cables are designed for connections such as an electric guitar or bass to an amplifier, effects unit, or pedalboard. These are often unbalanced connections, so cable routing and shielding can matter when trying to limit noise. A flexible cable may be especially useful for performers who move while playing.
Patch cables and adapter leads help connect equipment with different connector formats or support compact routing within a rack, pedalboard, or studio workstation. Check the exact connector on each end, as similar-looking plugs can serve different purposes.
Speaker cables connect amplifiers to passive speakers and should not automatically be substituted with instrument or microphone cables. Confirm the connector type and intended use before connecting a power amplifier to a speaker cabinet. For broader system planning, compare cables alongside PA Systems, Monitors, Speakers & Subwoofers, and Power Amplifiers.
Cable specifications can help narrow the selection when several products appear suitable. Check the conductor design, shielding method, jacket material, connector plating or housing, and strain relief. These details can indicate whether a cable is intended for occasional home use, mobile performance, studio routing, or repeated professional setup.
Connector construction is also important. Metal housings may be preferred for demanding handling, while molded connectors can offer a compact profile. If the cable will be used in a crowded setup, consider whether its diameter and flexibility make it easy to route and coil.
For installations near stage lighting or other electrical equipment, planning the cable path can be as important as choosing the cable itself. Lighting Equipment & Accessories and Special Effects may be part of the same production environment, so keep audio lines organized and separated from avoidable sources of interference where practical.
The catalog includes stage and studio cable options from HOSA, Tisino, CableCreation, GLS Audio, Disino, Cable Matters, VisioSound, NUOSIYA, MonoPrice, Devinal, Neewer, and Pig Hog. These brands are well represented in this category, giving shoppers multiple specifications and connector configurations to compare without treating any brand as a universal fit.
When comparing products from different brands, focus first on the connection required by the equipment. Then compare length, shielding, jacket construction, connector design, and intended application. Brand familiarity should support the comparison, not replace it.
Coil cables loosely using an over-under technique when appropriate, and avoid tight bends at the connector ends. Do not pull a cable by its plug, place heavy equipment on it, or leave unnecessary slack where people may walk. Before a performance or recording session, inspect the jacket, connectors, and strain relief for visible damage.
Labeling cables by purpose or destination can speed up setup and make troubleshooting easier. Keep microphone, instrument, speaker, and power connections clearly separated, and confirm that a cable is designed for the signal or load before using it. For systems built around a mixer, Powered Mixers may help define which cable connections are needed.
Not always. They may use different connector types and signal designs. Check the equipment connections and whether the system requires balanced or unbalanced operation.
A speaker cable is intended for a different application and should not be treated as a general-purpose substitute. Match the cable to the equipment and signal path.
Choose enough length to reach comfortably while avoiding large coils or excess cable on the floor. Measure the likely route, including movement around the equipment.
Yes. Shielding can help limit unwanted noise, particularly in environments containing power lines, lighting systems, and multiple electronic devices.
Verify the connector type, gender where relevant, signal direction, balanced or unbalanced design, and the intended equipment at both ends.